
Before and after photos of home improvements: why they're worth taking (and how)
Short answer
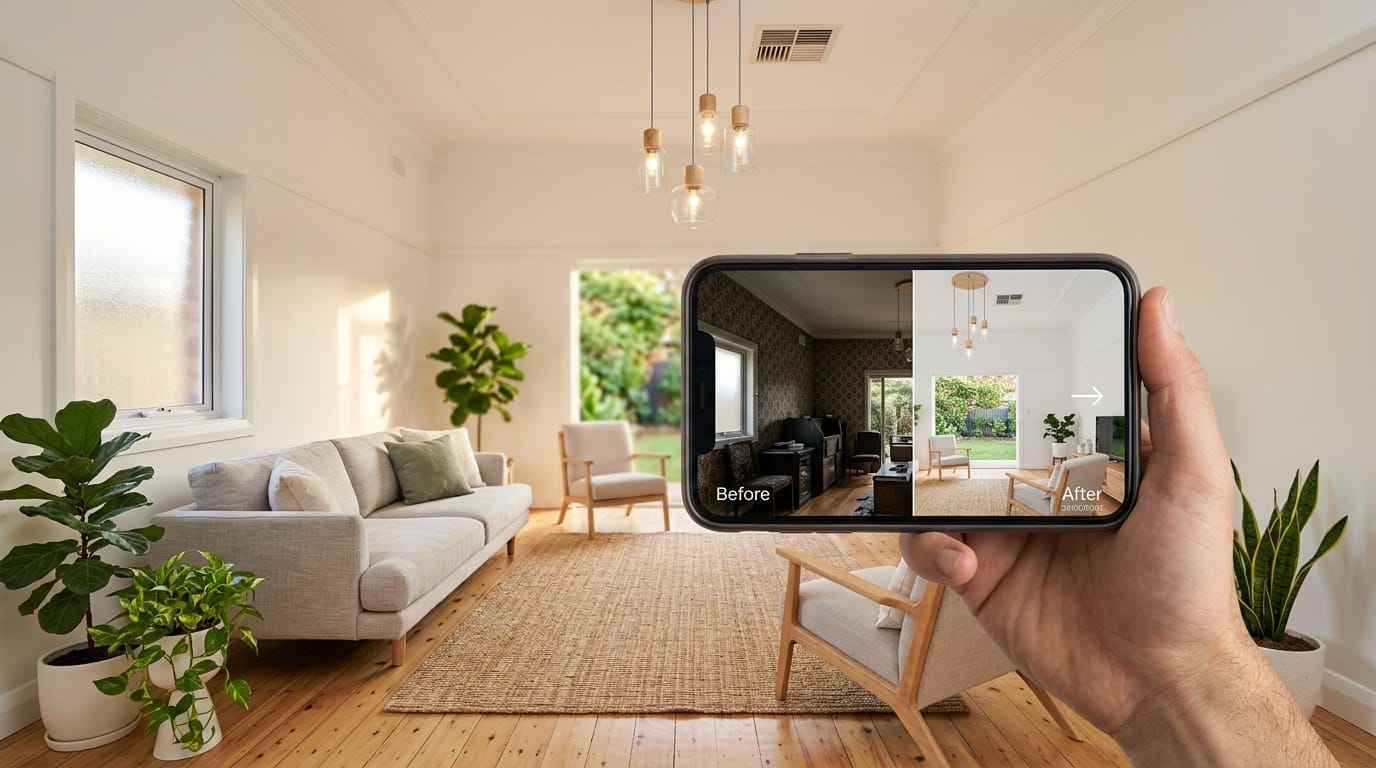
Take a 'before' photo of every job before you touch it, and an 'after' photo from the same spot when you finish. They're evidence of the work for buyers and building inspectors, a record for insurance claims and warranty disputes, a way to show a tradie exactly what's wrong, and a reminder of how far your home has come. Jib keeps both with each job, in a gallery and timeline for every room, and can show them side by side.
Most people remember to photograph a finished renovation. Almost nobody photographs the before. Then, when they sell, claim on insurance, or need to show a tradie what the leak looked like last winter, the photo they need doesn’t exist.
Why before and after photos are worth taking
- Selling: buyers and agents love a story. “New silicone, fresh paint, serviced gutters, here’s the before” builds confidence, and the photos help answer a building inspector’s questions. See renovating before selling.
- Insurance: photos of your home and its condition before damage make a claim easier to support. Photos of repairs show the work was done.
- Tradies and warranties: a dated photo of the problem before and after a repair helps if the fix doesn’t hold.
- Rentals: landlords and tenants both benefit from a dated record of condition and repairs.
- Motivation: looking back at how far a room has come is the best reason to start the next job.
How to take good before and after photos
- Same spot, same angle. Stand in the same place and hold the phone at the same height. A mark on the floor or a doorway corner helps.
- Same light. Shoot at a similar time of day, with lights on or blinds open both times.
- Wide, then close. One photo of the whole room or wall, one close-up of the actual problem.
- Before you start, not halfway. Take the before the moment you notice the job, which is also when you’d log it.
- Keep them together. A before in your camera roll and an after in a different album is as good as no before at all.
How Jib keeps them
- The before is automatic. When you snap a job, that photo is the before.
- The after is one tap. When you mark a job done, Jib offers to add an after photo (you can switch this off).
- Side by side. Pair any two photos as a before & after and view them with a slider.
- Room by room. Every photo lands in the gallery under the right space, and completed jobs build a timeline of your home, season by season.
- Everywhere. Photos sync to your account, so they’re safe if you change phones.
Keep the paperwork with the photos
For bigger jobs, store the documents alongside the photos:
- Receipts for materials and appliances
- Tradie invoices and compliance certificates (electrical, plumbing, gas)
- Warranty documents and manuals
- Council approvals, where the work needed them
When you sell, that folder answers most of the buyer’s questions before they’re asked.
Frequently asked questions
Do I need a special camera? No. Your phone is fine. Consistency (same spot, same light) matters far more than the camera.
Can I add old photos? Yes. Add photos to the gallery with the date they were taken, and they’ll appear in the right place on the timeline.
Are my photos private? Yes. They’re stored in your Jib account, not published anywhere. See our privacy policy.
This guide is general information, not legal or professional advice. Rules differ between states, councils and individual properties, and they change. Confirm with your state regulator or council before starting work, and if in doubt, get a licensed tradesperson.