
What do you need to tile a bathroom floor? Full materials and tools list
Short answer
For a typical 4 m² bathroom floor in 300 × 600 mm tiles you need about 4.4 m² of tiles (10% extra for cuts), two 20 kg bags of tile adhesive, one 5 kg bag of grout, around 12 L of waterproofing membrane (with a shower) plus primer, and two cartridges of wet-area silicone. For tools: a notched trowel, tile cutter, spacers or levelling clips, a rubber float, sponges and a spirit level. Use our free bathroom floor calculator for your exact room.
Tiling a bathroom floor is one of the most satisfying DIY jobs, and one of the easiest to under-buy for. Running out of adhesive halfway through, or finding the second batch of tiles is a slightly different shade, is how a weekend turns into a fortnight. Here’s the complete list.
Want exact numbers for your room? The bathroom floor calculator works out tiles, adhesive, grout, membrane and primer in one go.
Materials
| Material | How much | Notes |
|---|---|---|
| Floor tiles | Floor area + 10% (15% for diagonal or herringbone) | Check the slip rating: P3 or higher is a common choice for bathroom floors. Buy one batch. |
| Tile adhesive | ~3.5 kg/m² (6 mm notch) to ~7 kg/m² (12 mm notch) | A flexible, cement-based adhesive rated for wet areas. Bigger tiles need a bigger notch. |
| Grout | Depends on tile size and joint width: ~0.15 kg/m² for 300 × 600 mm tiles with 2 mm joints | Cement grout for most floors; epoxy grout is harder-wearing and more stain-resistant but trickier to use. |
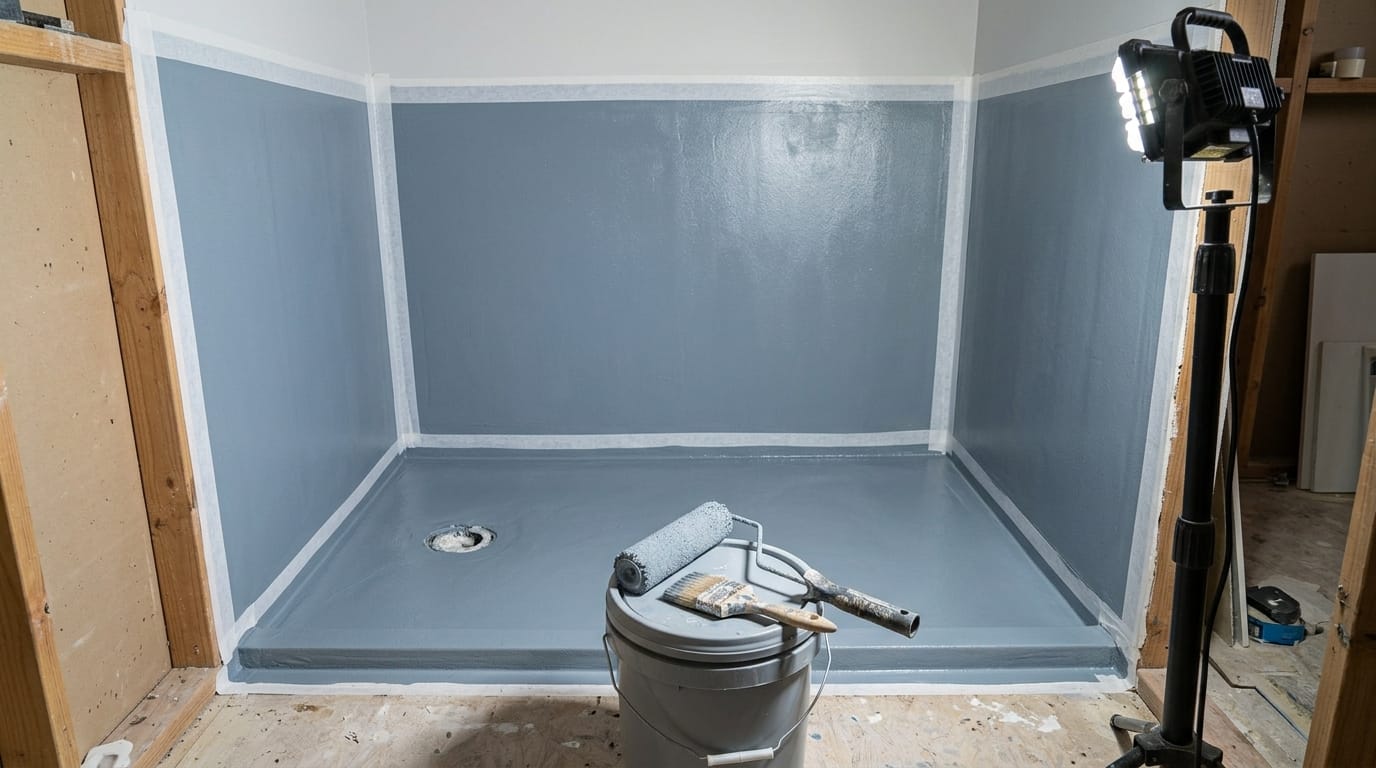
| Waterproofing membrane | ~1.4 L/m² for two coats | Shower area floor and walls to 1800 mm, plus the rest of the floor and wall upturns. Check who can apply it. |
| Membrane primer | ~0.15 L/m² | Must be compatible with your membrane. |
| Bond breaker / sealant tape | Perimeter of the room + shower corners | Lets the membrane flex at wall–floor and wall–wall junctions. |
| Wet-area silicone | One 300 mL cartridge per ~8 m of joint | For the wall–floor junction and around fixtures. Never grout movement joints. |
| Sand and cement screed | Depends on the fall needed | Only if the floor needs re-grading to the waste. |
| Grout sealer | Optional | Helps cement grout resist stains. |
Tools
- Notched trowel sized to your tiles (6, 10 or 12 mm)
- Tile cutter (manual rail cutter for straight cuts) and an angle grinder with a diamond blade or tile nippers for cut-outs around the waste
- Tile spacers or a levelling clip system (worth it for tiles 600 mm and over)
- Spirit level and a straight edge
- Rubber grout float, buckets and sponges
- Mixing paddle for a drill, for adhesive and grout
- Tape measure, pencil and chalk line
- Knee pads, safety glasses, gloves and a P2 mask for cutting and mixing
Jib’s AI Toolbox remembers which of these you already own, so the job’s shopping list only includes the ones you’re missing.
Five mistakes that cost the most
- Tiling over an uncured membrane. Every membrane has a minimum cure time before tiling. Read the data sheet and wait.
- No fall to the waste. Water should run to the floor waste, not sit in the corners. Check the fall before you tile, not after.
- Grout in movement joints. The joints where the floor meets the walls, and at changes of plane, get silicone. Grout there cracks.
- Too little adhesive coverage. Floor tiles need close to full coverage, especially in wet areas. Lift a tile early on and check the back.
- Mixed batches. Tiles from different batches can differ slightly in shade and size. Buy all you need, plus spares, at once.
What isn’t DIY
Laying tiles, grouting and siliconing are yours to do in every state. Moving or connecting the floor waste, shower waste or any pipes is licensed plumbing, and anything electrical (heated floors, exhaust fans, new lights) needs a licensed electrician. Waterproofing depends on your state and the size of the job: see can I waterproof my own bathroom?
Frequently asked questions
Can I tile over existing floor tiles? Sometimes, if the old tiles are sound, well-bonded and flat, and the extra height works with doors and the floor waste. You’ll need a primer suited to tile-on-tile. In a wet area, it also means relying on the old waterproofing underneath.
How long before I can walk on new floor tiles? Typically 24 hours for standard adhesive, and longer before grouting or heavy use in cold weather. Rapid-set adhesives are faster. Follow the bag.
What size notched trowel for 600 × 600 tiles? Usually a 12 mm square notch, plus back-buttering each tile for full coverage. For 300 × 600 mm tiles, a 10 mm notch is typical.
Sources
Every rule on this page is taken from these official sources. If a rule has changed, please tell us and we’ll fix it.
This guide is general information, not legal or professional advice. Rules differ between states, councils and individual properties, and they change. Confirm with your state regulator or council before starting work, and if in doubt, get a licensed tradesperson.